Last weekend my girl treated me to Shibori classes on Saturday + Sunday via Pratt. A big thank you to Kentaro Kojima for such a great class. The definition of Shibori:
Shibori is a traditional Japanese, manual “shaped-resist” dyeing technique that involves folding, twisting, stitching, or compressing fabric to create intricate patterns. Derived from the verb shiboru (“to wring, squeeze, press”), this method often uses indigo to dye cotton or silk, creating deep blue and white designs.
This is when I say that my girl is a true Renaissance woman, the definition from dictionary.com:
A Renaissance woman is a modern term for a woman with profound knowledge, sills, or talent across many different fields, including arts, sciences, and humanities.
Some of her hobbies include knitting, crocheting, pottery, letterpress, metalwork, glasswork…you get the picture. It makes my crafty heart so happy.
Such a treat for me to spend the weekend with her!
I’ll share photos in the order that they were made:

My first project was this 100% cotton white t shirt. This is my bluest piece! The pattern was made by encasing marbles and tying them off with elastics. The area that is bound by the elastics is what stays the original white. The pattern is on the back of the t shirt too.
I knew that I wanted to do the shibori technique with the stitching:

That pattern is via a stencil. I used washable paint to transfer it to the 100% cotton white pillow case. Here a peek at the process:

I basically took each ‘leaf’ and folded the fabric so that the edges matched up and then stitched along the dots:

Using poly thread makes it easy to stitch and then before tying it off, you pull it super snug. The snugger, the better, that’s what makes the dye resist, leaving the pattern.
Going out of order of my dying, here’s the other project I used the same pattern:

Truthfully, this is an older 100% linen top that I wore on Day 1. I knew I was taking the chance that it would get stained but I wasn’t worried. After Day 1, I had one small blue dot on it so I decided to dye it on Day 2. I’m loving how it turned out. Definitely a labor of love. The stitching was taking me so long on both pieces.
Everybody in the class that we took was super nice and super creative. One of the students gifted these 100% square towels to everyone.

The circle pattern was made with a folding technique – you can see the folds. Fan folding the material, back and forth. There were plastic shapes that we could use in the class, I picked a circle. I proceeded to fold the cotton back and forth into a square. Laid the circle on the top and tried to line up the same size circle on the bottom of the stacked cloth. Then using clamps, I tried to get the circles to line up on top of each other. The tighter they are, the more the circles will pop.
I did the same concept with this t shirt but with a triangle shape:

This is quite the hot mess. If you don’t fan out the fabric while it is immersed in the dye vat, the blue color doesn’t saturate the fabric. That’s what happened on this t shirt. The upper portion of the t shirt didn’t take the dye evenly. You’re supposed to soak the fabric in water first which helps the dye to soak up evenly. Maybe I didn’t soak it, totally possible.
This is my final piece:

My girl brought 100% silk to use in the class. Isn’t it interesting how it takes to the dye? It is so much lighter in color than the other pieces.
I do have one more photo. My girl brought handmade cotton paper that she found at ReCreative. I dipped it into the dye vats:

The base paper is a pale periwinkle color. I decided to whip up a card:

I learned so much and hope there will be another shibori class!
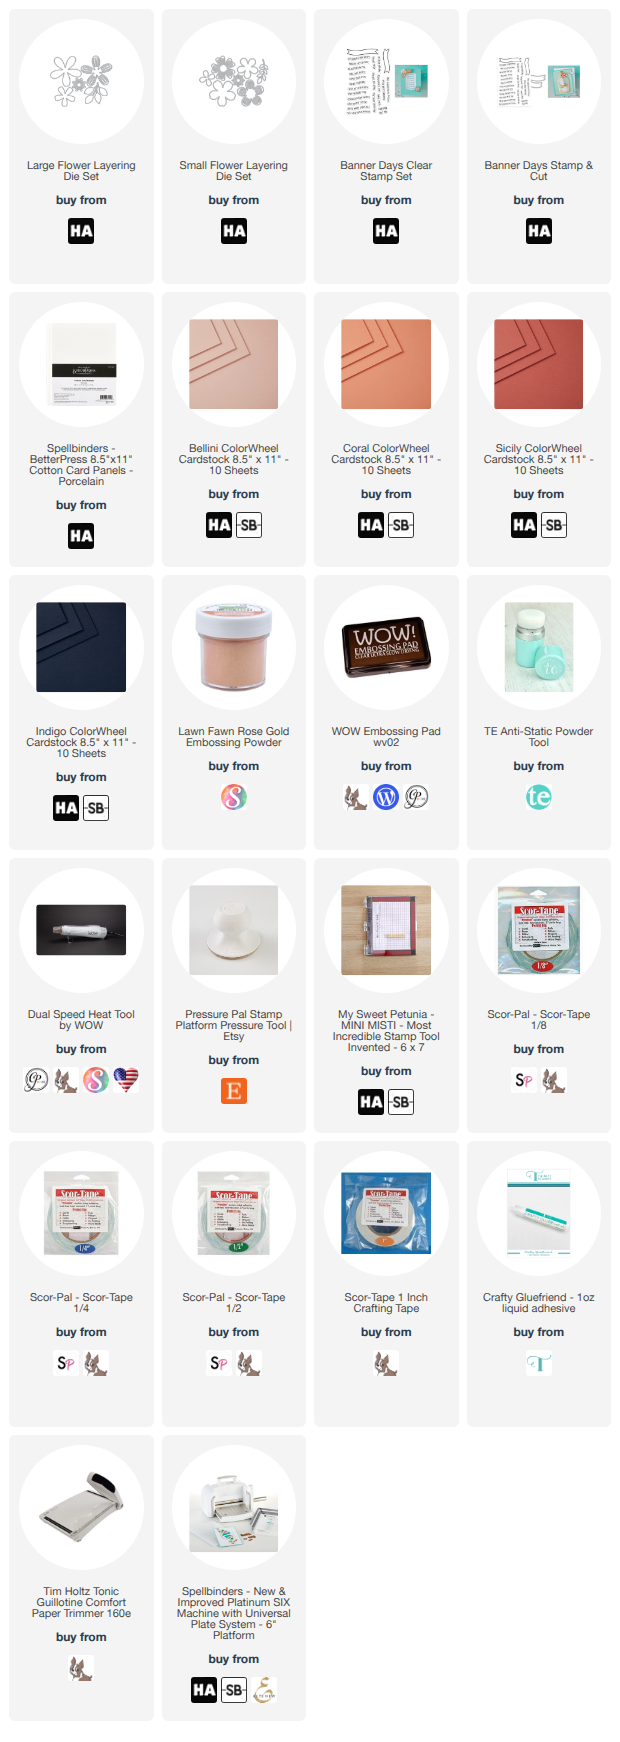
For my cardmaking friends, here is the card recipe: