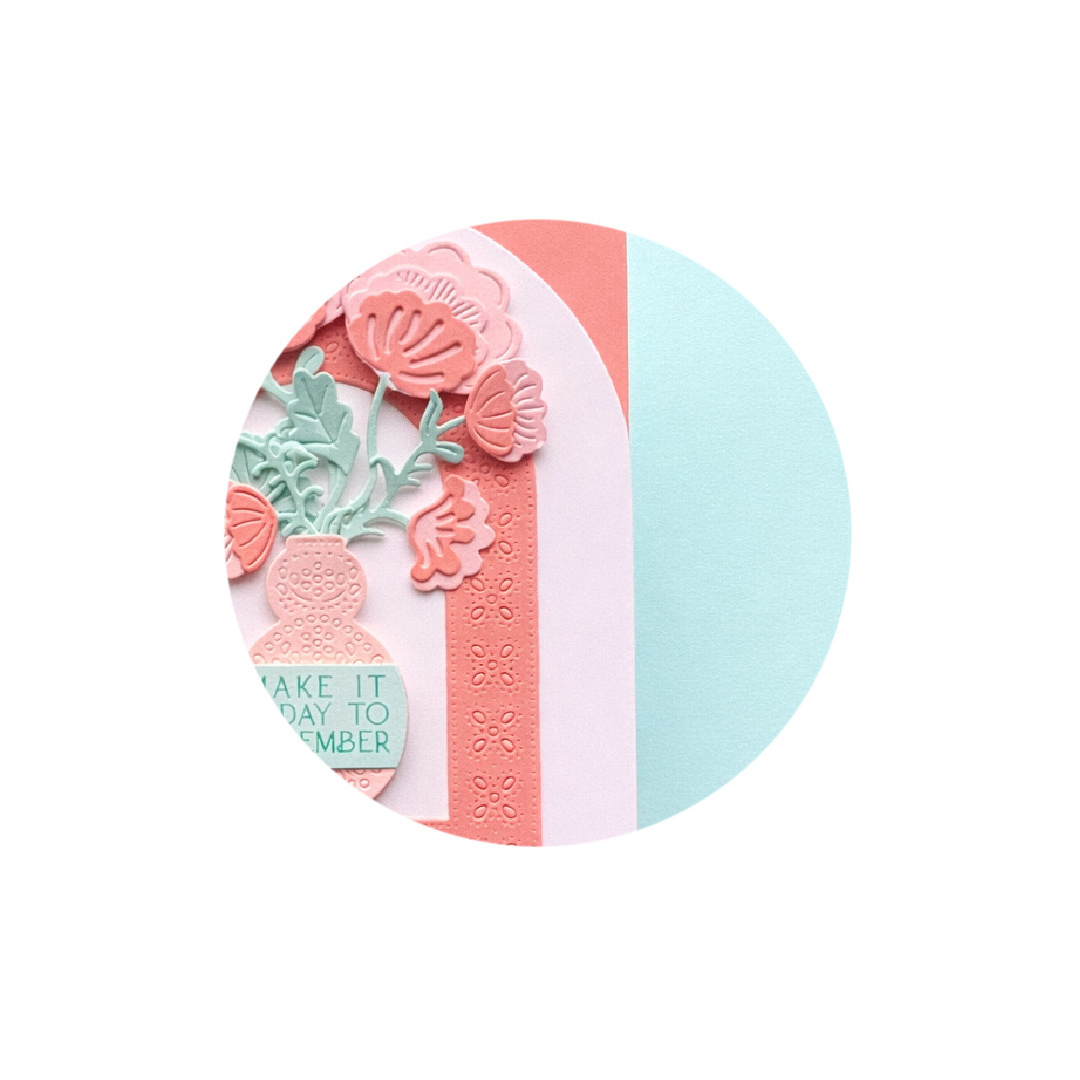
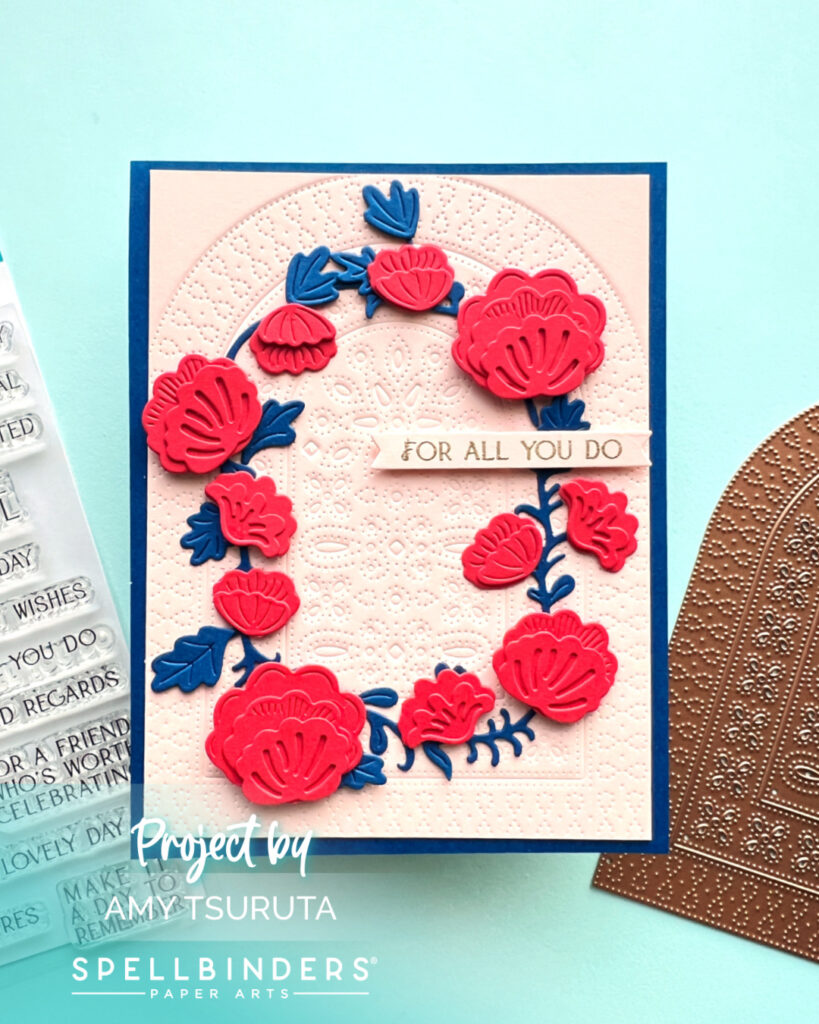
Hello and Happy Monday I’m excited to be up on the Spellbinders blog. Here’s a bit of a sneak peek:
Make sure you check out the Spellbinders blog + Spellbinders Shop!
I wanted to go ahead and also create a new project to share on my blog today.

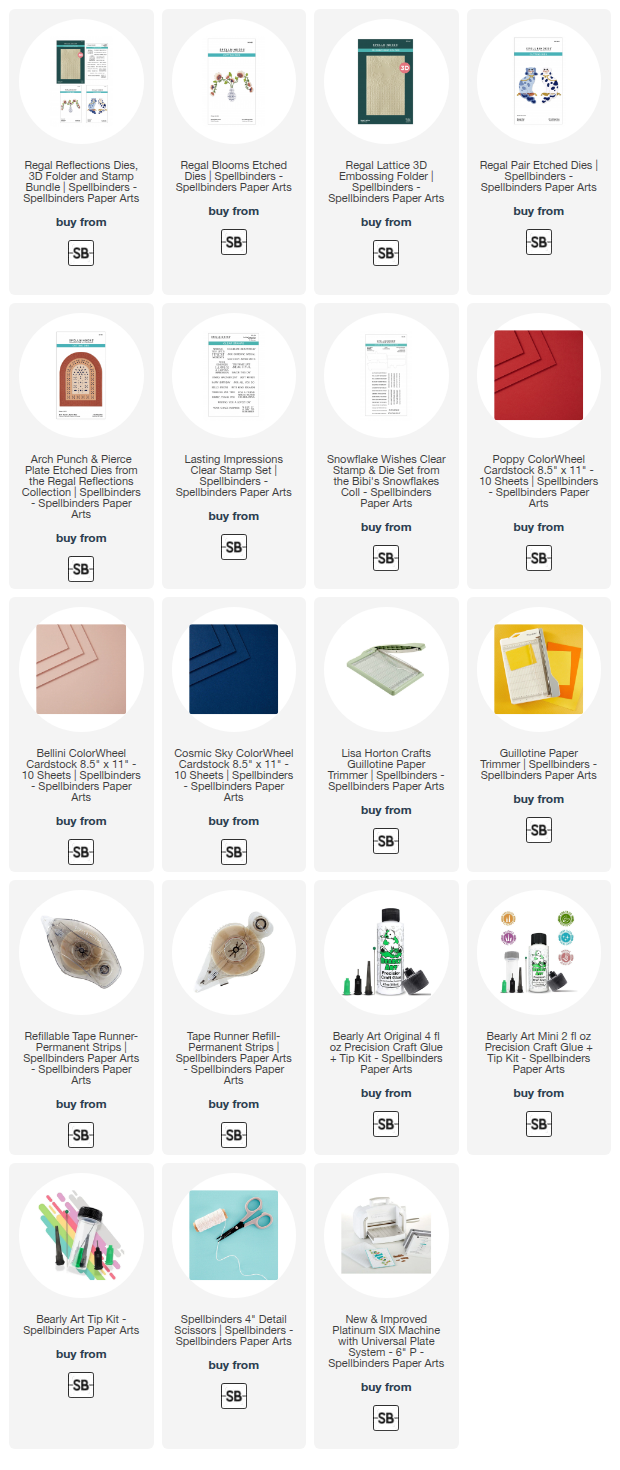
Here’s my Spellbinders product list:
- Regal Blooms Etched Dies
- Arch Punch & Pierce Plate Etched Dies
- Lasting Impression Clear Stamp Set
Other Spellbinders products:
- Snowflake Wishes | stamp & die
- Poppy ColorWheel cardstock
- Bellini ColorWheel cardstock
- Cosmic Sky ColorWheel cardstock
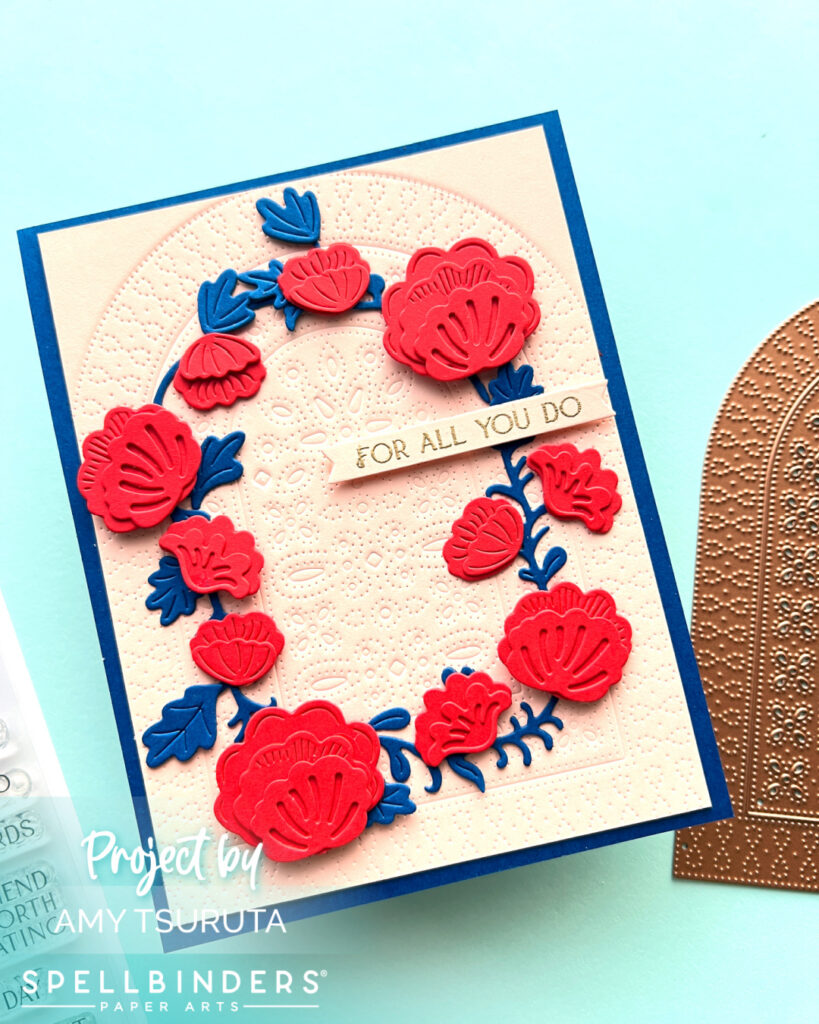
Here’s how I layered up my card:
- I started off with an A2 panel of Bellini ColorWheel cardstock that I used to dry emboss the Arch Punch & Pierce Plate Etched Dies. I set that aside.
- I picked out all the floral dies and cut them with Poppy ColorWheel cardstock two times.
- All the foliage was cut from Cosmic Sky ColorWheel cardstock two times. Try to center the dies in the middle so this can be used as a base panel.
- I trimmed down the Bellini panel that was dry embossed by 1/4 inch.
- Adhere the Bellini panel onto an A2 of Cosmic Sky.
- I used the middle arch on the Bellini panel as my guide to help shape my wreath, first by placing the foliage pieces.
- Add in the Poppy blooms.
- Heat embossed in gold the sentiment of your choice. I used a one line sentiment that would fit in the Snowflake Wishes banner die.
- All the Poppy blooms and the sentiment have been adhered with foam adhesive. Use liquid adhesive for the Cosmic Sky foliage.
A big thank you to Spellbinders for inviting me to be a guest designer on their blog!
Affiliate links used at no extra cost to you:
Please follow and like us: